As you all know already, iOS 6.1.3 is the most recent firmware for all iOS 6 compatible devices except for iPhone 5 which has iOS 6.1.4 as the most recent firmware.
As of the time of this writing Apple is still signing iOS 6.1.3 and 6.1.4.

It is NOT possible to jailbreak iOS 6.1.3 untethered, it can only be jailbroken tethered on older devices like iPhone 3GS and iPhone 4. Therefore, if you have an iPhone 5 or 4S running iOS 6.1.3, you won't be able to jailbreak it.
Furthermore, Gevey works best for a jailbroken iDevice, therefore, since only tethered jailbreak is available for iOS 6.1.3, Gevey doesn't function well and its not guaranteed to work with your device.
All hope is not lost as it is very certain that iOS 7.0 will have a jailbreak when it comes out by September.
This tutorial is to allow you update your iPhone to iOS 6.1.3, Jailbreak and unlock using Gevey for supported devices. Please read carefully before you begin your update!
This tutorial took a while to create and was tested for iPhone 3GS. It wasn't tested on any iPhone 4 but used research and comments of people online to assume that it works for iPhone well.
Note 1: The procedure to jailbreak iOS 6.1.3 only works for iPhone 3GS and iPhone 4.
Note 2: Gevey SIM Ultra doesn't work well with iOS 6.1.3 so use at your own risk.
Note 3: iPhone 3GS old bootrom can be jailbroken untethered on iOS 6.1.3 and unlocked too.
Note 4: Ultrasn0w works along with Gevey to make the unlock possible.
Note 5: If you are not comfortable using iBooty to boot tethered, you can use Redsn0w to also boot tethered too.
Note 6: If you don't want to jailbreak or unlock your device, just download 6.1.3 and install using iTunes, but you must have an officially supported SIM to activate your device.
Requirements
- iTunes 11
- Sn0wbreeze 2.9.14
- 6.1.3 IPSW
- Internet Connected Windows Computer
- iDetector: This is for iPhone 3GS owners, to detect if you have old or new bootrom
- iBooty 2.3
- Gevey Ultra for iPhone 4
Supported Devices for Jailbreak and Unlock by Gevey Ultra Sim
- iPhone 4: baseband 01.59.00 (supported by ultrasn0w) or 02.10.4, 03.10.01 and 04.10.01
- iPhone 3GS: baseband 05.11.07, 05.12.01, 05.13.04 or iPad baseband 06.15.00.
Supported Devices for iOS 6.1.3 Update ONLY
- iPhone: 5, 4S, 4, 3GS
- iPad: 4, 3, 2, 1
- iPad mini
- iPod Touch: 5G, 4G, 3G
Procedures
Step 1: Download Sn0wbreeze 2.9.14 to your computer and save to Desktop
Step 2: Download iOS 6.1.3 IPSW for your device
Step 3: Download and install iTunes 11
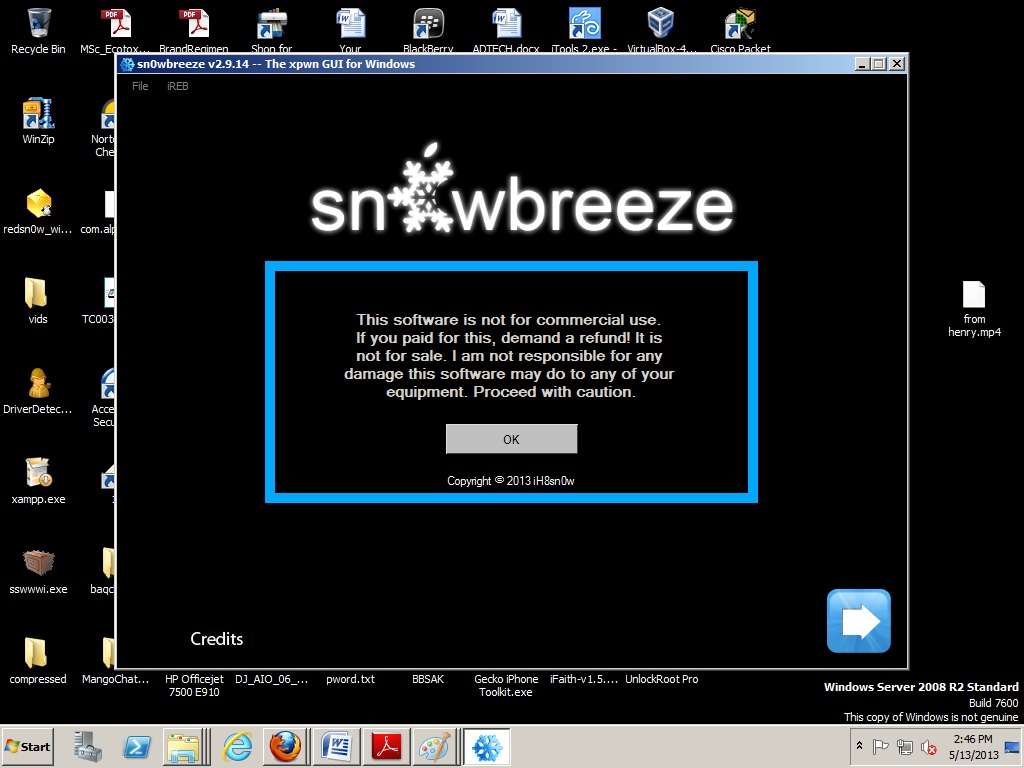
Step 4: Launch Sn0wbreeze and click OK at the prompt. Now click on the Blue arrow below

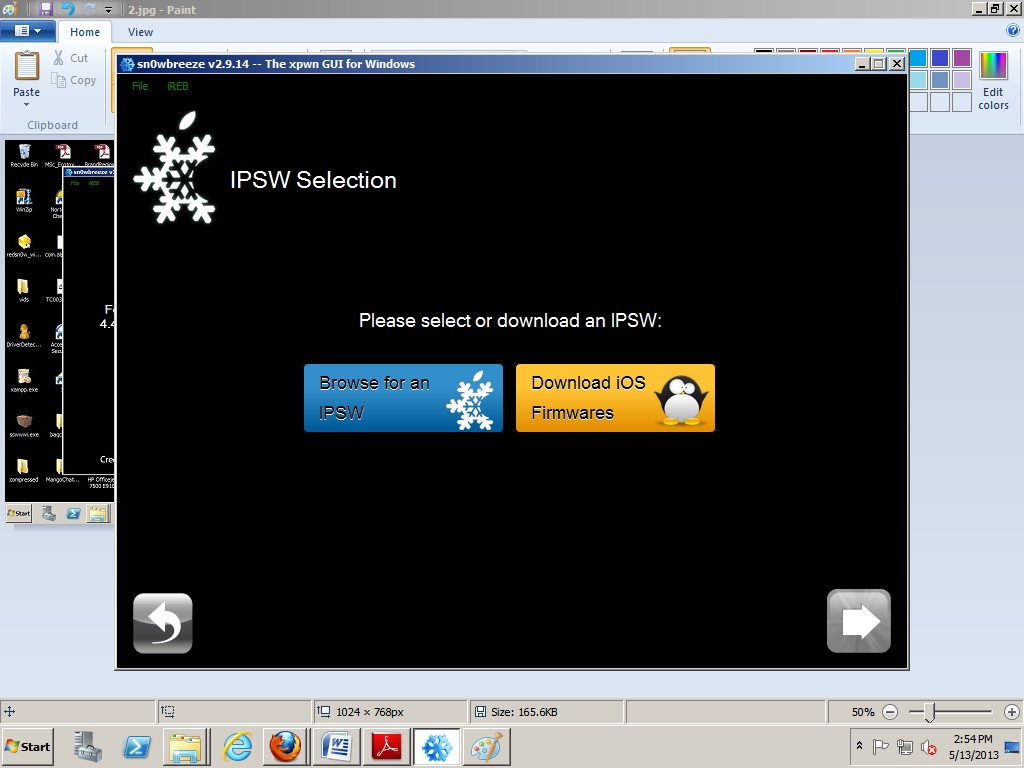
Step 5: Click on Browse for an IPSW, and select the iOS 6.1.3 IPSW you downloaded
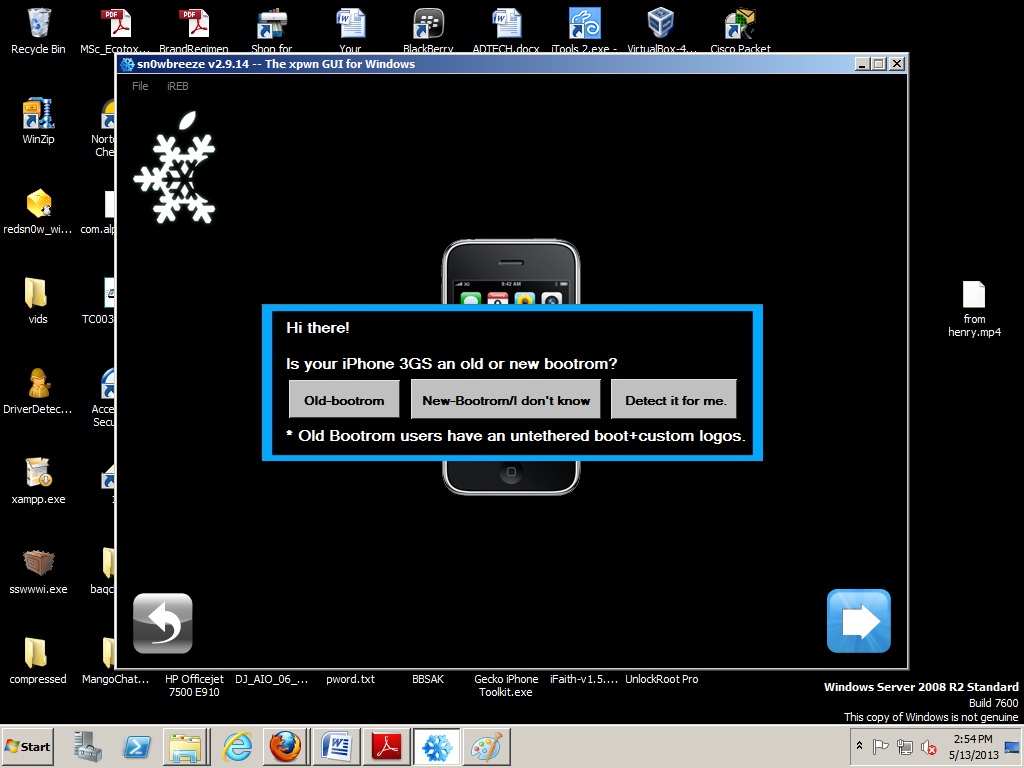
Step 6: Sn0wbreeze will identify your IPSW and show your device type corresponding to that IPSW. If your device is old or new bootrom, select as displayed for iPhone 3GS owners.
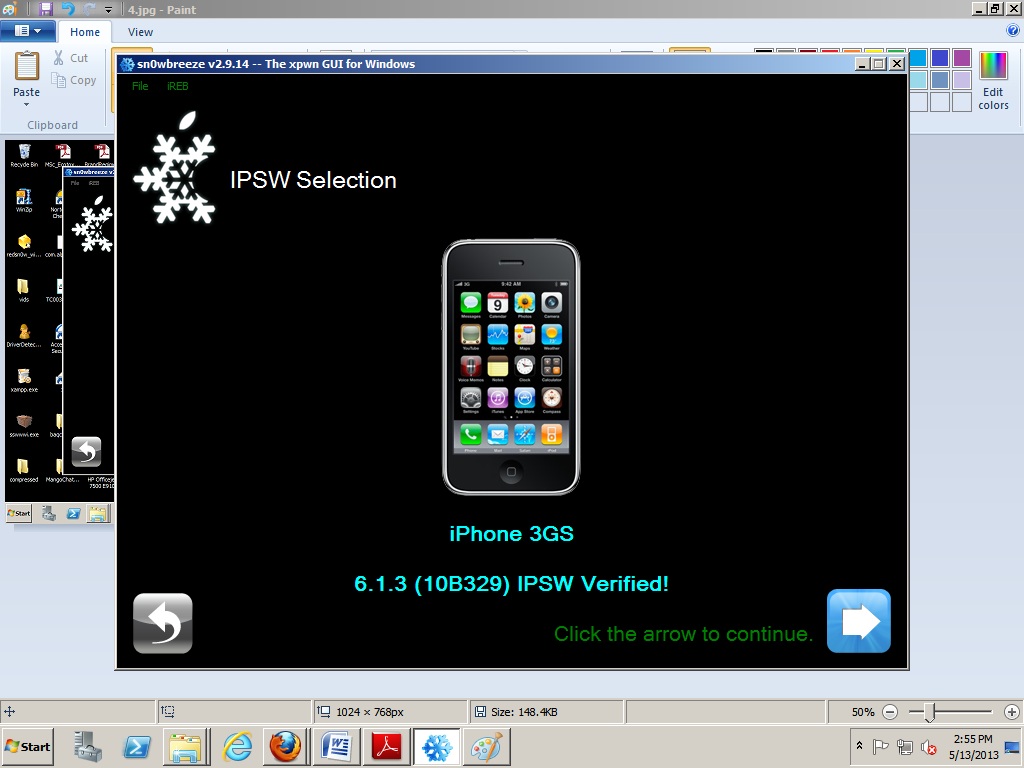
Step 7: Click on the blue arrow again after Sn0wreeze identifies your device.
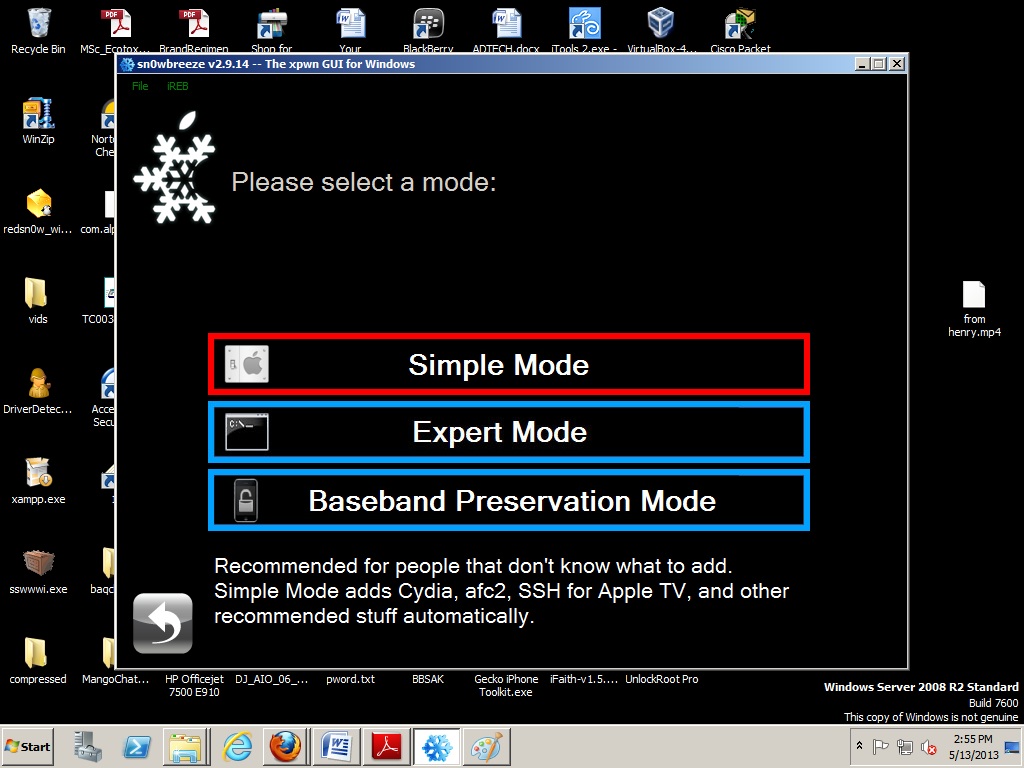
Step 8: Click on Simple Mode if you plan to jailbreak and preserve baseband. if you don't want to jailbreak but only want to preserve baseband, choose Baseband Preservation Mode only.
Step 9: Click on YES if you want to also activate your device

Step 10: Sn0wbreeze will build you a new IPSW and would be saved to the Desktop.
Step 11: Now plug in your device and follow the tutorial to put your device in Pwnd DFU mode and using iReb just to be completely in Pwnd DFU mode (Black Screen).

Step 12: Once in Pwnd DFU mode, Launch iTunes and connect your device to it.
Step 13: iTunes will detect your device in Restore mode. Click on Shift on your keyboard and click Restore.
Step 14: Select your new IPSW created by Sn0wbreeze
Step 15: iTunes will restore to this IPSW. If you get any errors, use iReb to put device in DFU mode proper again and continue upgrading your device.
Step 16: For iPhone 3GS, Old BR users, your device will boot and will be in iOS 6.1.3 with untethered jailbreak. Your device will also be hacktivated, unlocked and you can set up device as new
Step 17: For iPhone 3GS New Bootrom and iPhone 4 users, after upgrading to iOS 6.1.3 using iTunes, device may not boot up, now eject SIM and run iBooty to boot up device.
Step 18: Once booted, switch off 3G and then insert your SIM with Gevey Ultra
Step 19: Wait for Accept Screen and tap Accept, No Signal will show up. Wait for 20 - 25 seconds and then dial 112, hang up after 2 seconds.
Step 20: Turn ON Airplane mode and wait for NO SIM CARD INSTALLED’ message. Turn off Airplane Mode and you will see
‘SIM FAILURE’ and tap OK. Your iPhone search and will connect to your network now.
Dont work! Unlock iphone you can order here
ReplyDeleteHi,
ReplyDeleteMy phone was on 4.2.1 with 3.10.3 base band also on gevey sim
i upgraded it to 6.1.3 how can i use my phone
it says activation failed contact customer care if problem persists
i did make a custom ipsw file before doing this that doesn't seem to work now
need help
thanks
If you used the mothod above to create your custom IPSW, it should be hacktivated, meaning that there's no need to activate again.
DeleteI believe your baseband didn't change which means that you did preserve your baseband but hacktivation didn't happen.
May I ask, did you select simple mode as stated? In simple mode, your devices would be hacktivated and baseband preserved.
And when if you did select simple mode, did you click "yes" when you were asked if you wanted to activate your phone?
If you clicked no, that's where your problem lie and you may have to build the ipsw again
Any update on iphone4 testing? I have iphone 4 running on iOS4.3.5 baseband 4.10.01 using gevey sim for unlock (not jailbroken) and i never saved any shsh blobs, please let me know if by following mentioned steps it would be upgraded to 6.1.3 keeping baseband same as 4.10.01 and would work with gevey sim unlock?
ReplyDeleteThanks a lot, worked perfectly.
DeleteGreat! Enjoy.
ReplyDeleteThough I am facing one problem, I am not getting any option to enable personal hotspot. Do you know if that can be fixed?
DeleteGo to settings>General>Network>Cellular Data Network> fill out internet tethering setting
DeleteApn:
Username:
Password:
Restart your phone, personal hotspot would be there.
Don't forget to boot tethered with iBooty.
Let me know if you were successful
Sometimes, just turn off and on cellular data and turn off data roaming solves the problem without reboot
ReplyDeleteTried all this but nothing worked, installed pdanet from cydia as an alternative.
Deletehow to use saved shsh blob together with base band preserve mode in sn)wbreeze?
ReplyDeleteFollow the guides in my blog to achieve that. Search the blog and you will see an article on it.
DeleteThanks for your information . Now a days lot of methods are available to unlock iphone. But i have chosen remote unlock method. I got remote unlocking service from this site Superunlockcodes.com then unlocked my iphone easily.
ReplyDelete